
If you are an avid user of the FlashForge Adventurer 3 Lite 3D printer, you may have noticed that it lacks a filament sensor. A filament sensor is a useful addition to any 3D printer as it detects when the filament is running low or has run out, preventing wasted time and material. Fortunately, it is possible to add a filament sensor to the FlashForge Adventurer 3 Lite with some modifications to the firmware and hardware.
Before you start, it is essential to note that modifying your 3D printer may void your warranty, and you should proceed with caution. Also, this guide assumes that you have some experience with electronics and soldering.
The first step is to modify the firmware to allow for the addition of a filament sensor. You can do this by commenting out firmware checks in the flashforge_init.sh file. This step will allow you to upload custom firmware to your printer. Next, you need to download and install the firmware with the filament sensor feature enabled.
Once you have updated your firmware, it’s time to move on to the hardware modifications. Start by opening the side panel of your 3D printer and carefully unscrew the extruder motor. Gently wiggle the motor to loosen it, then unscrew the screws to open it up.
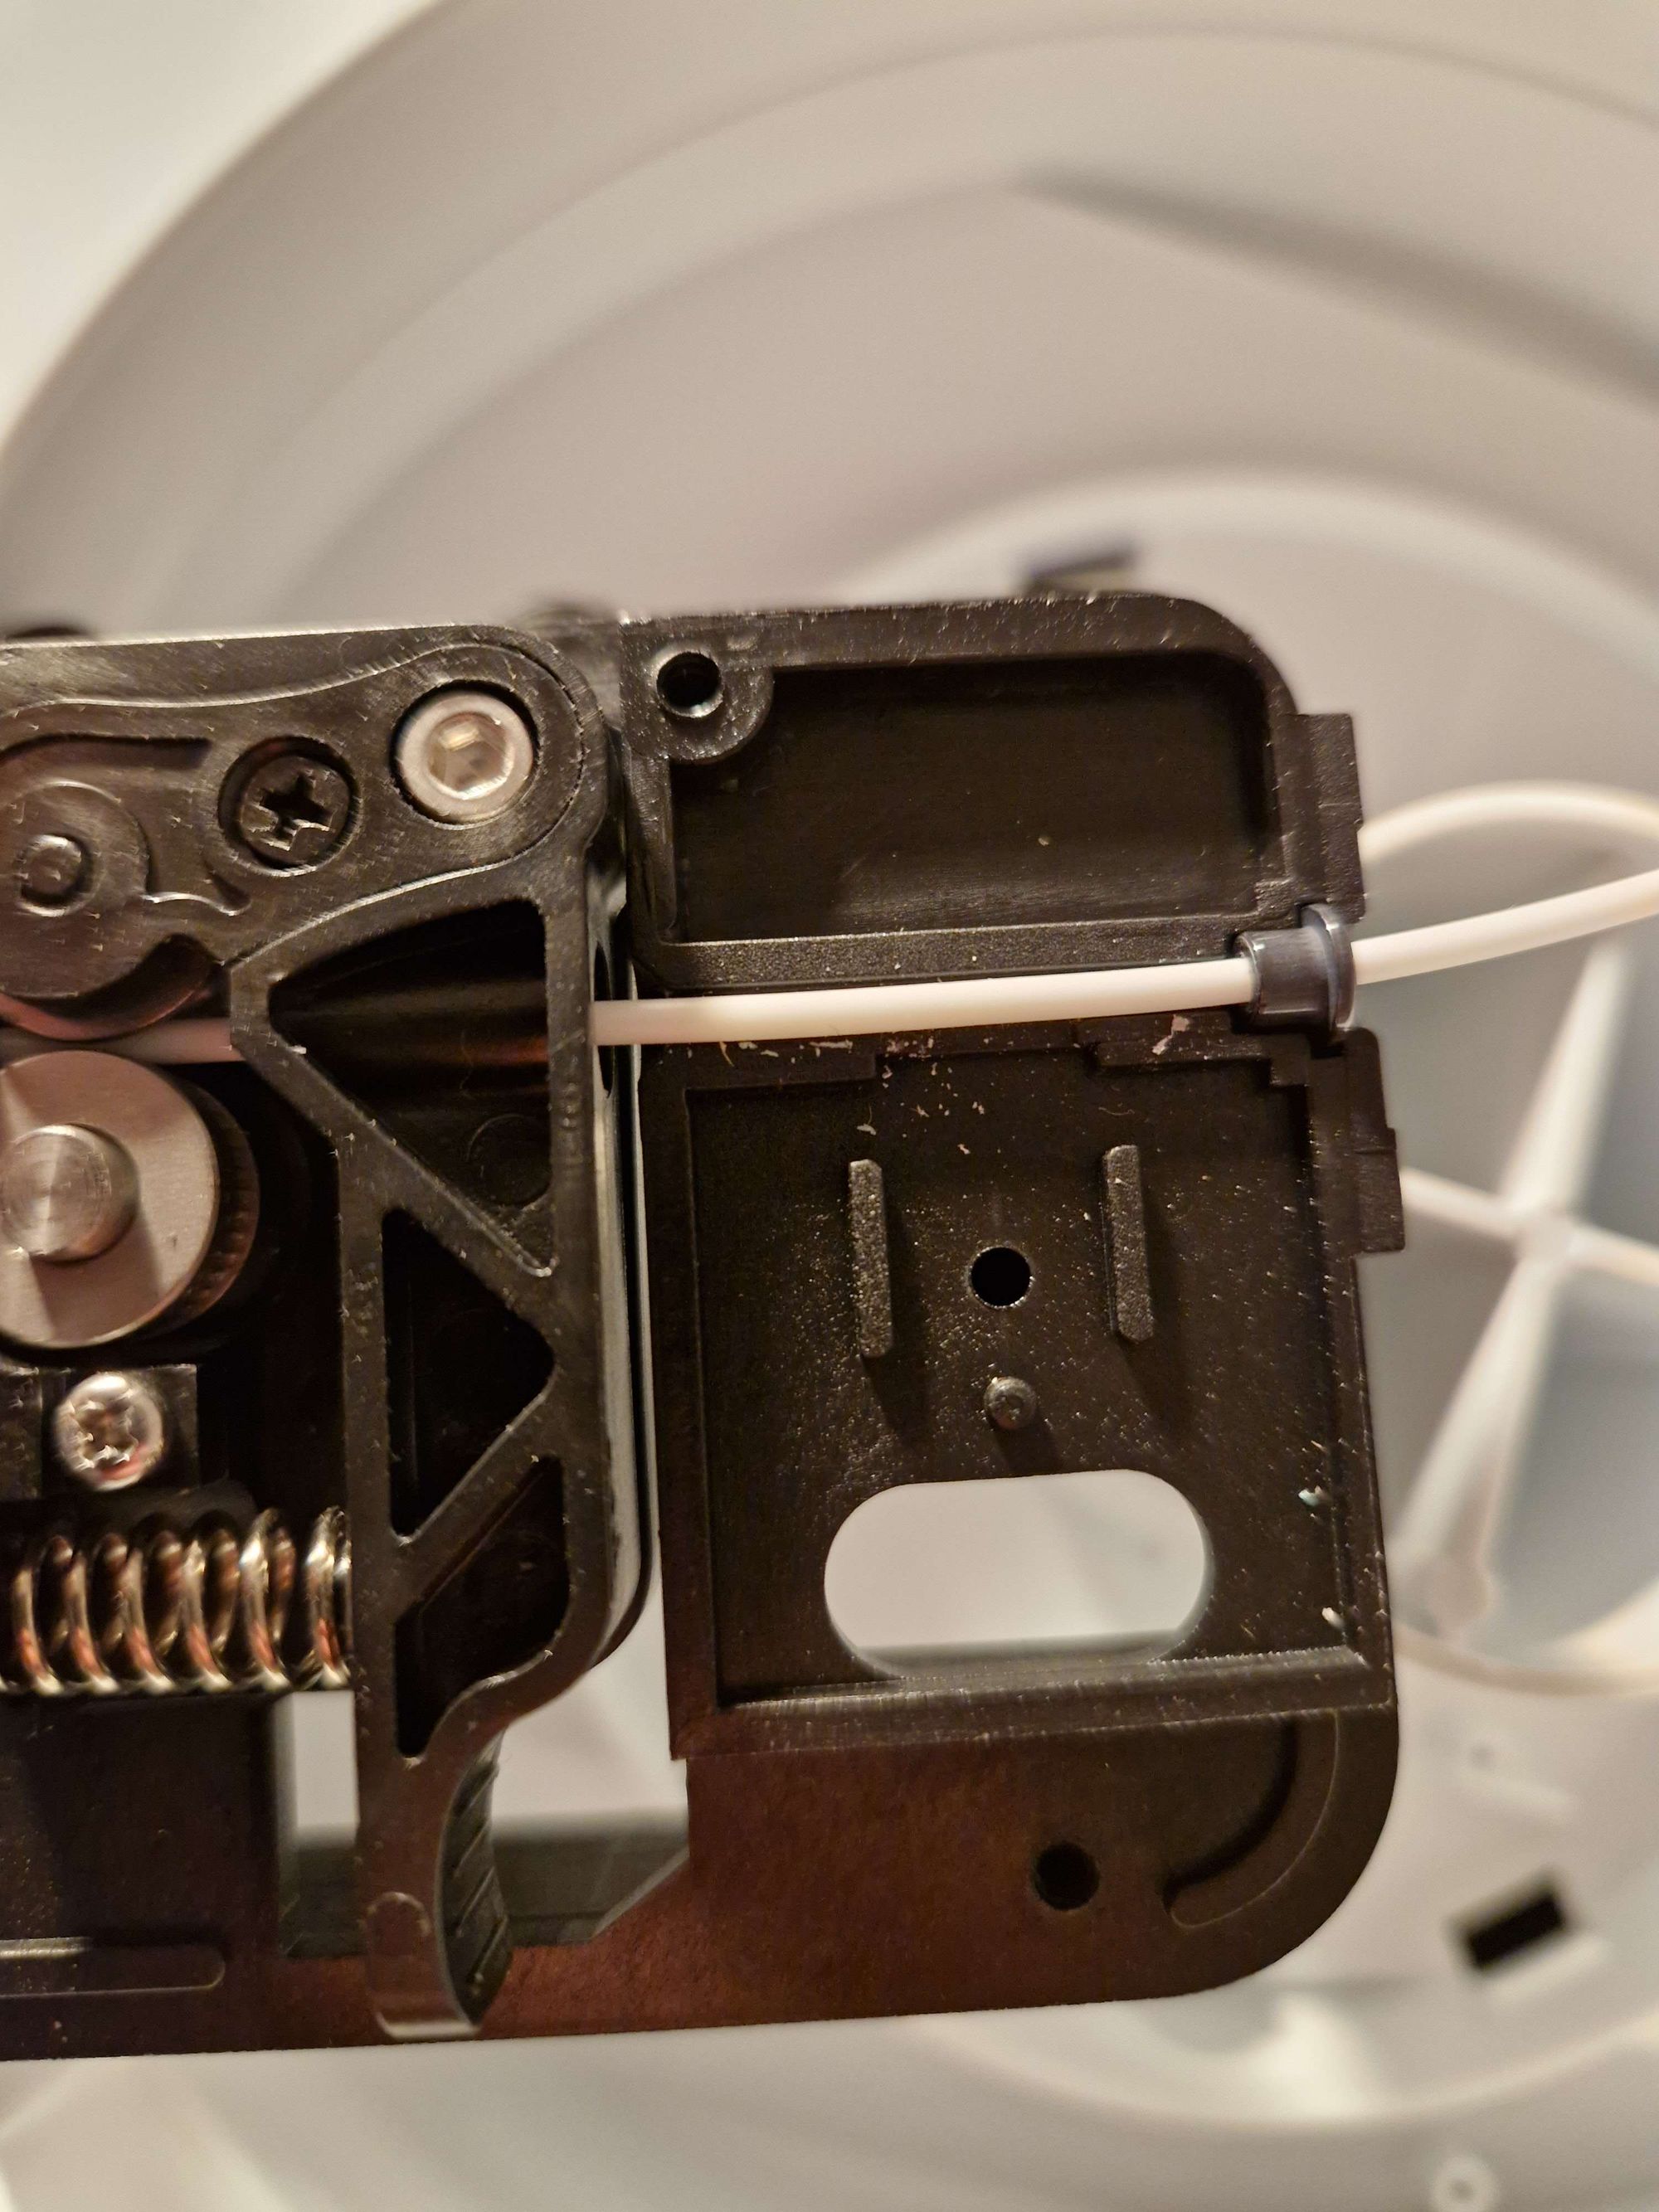
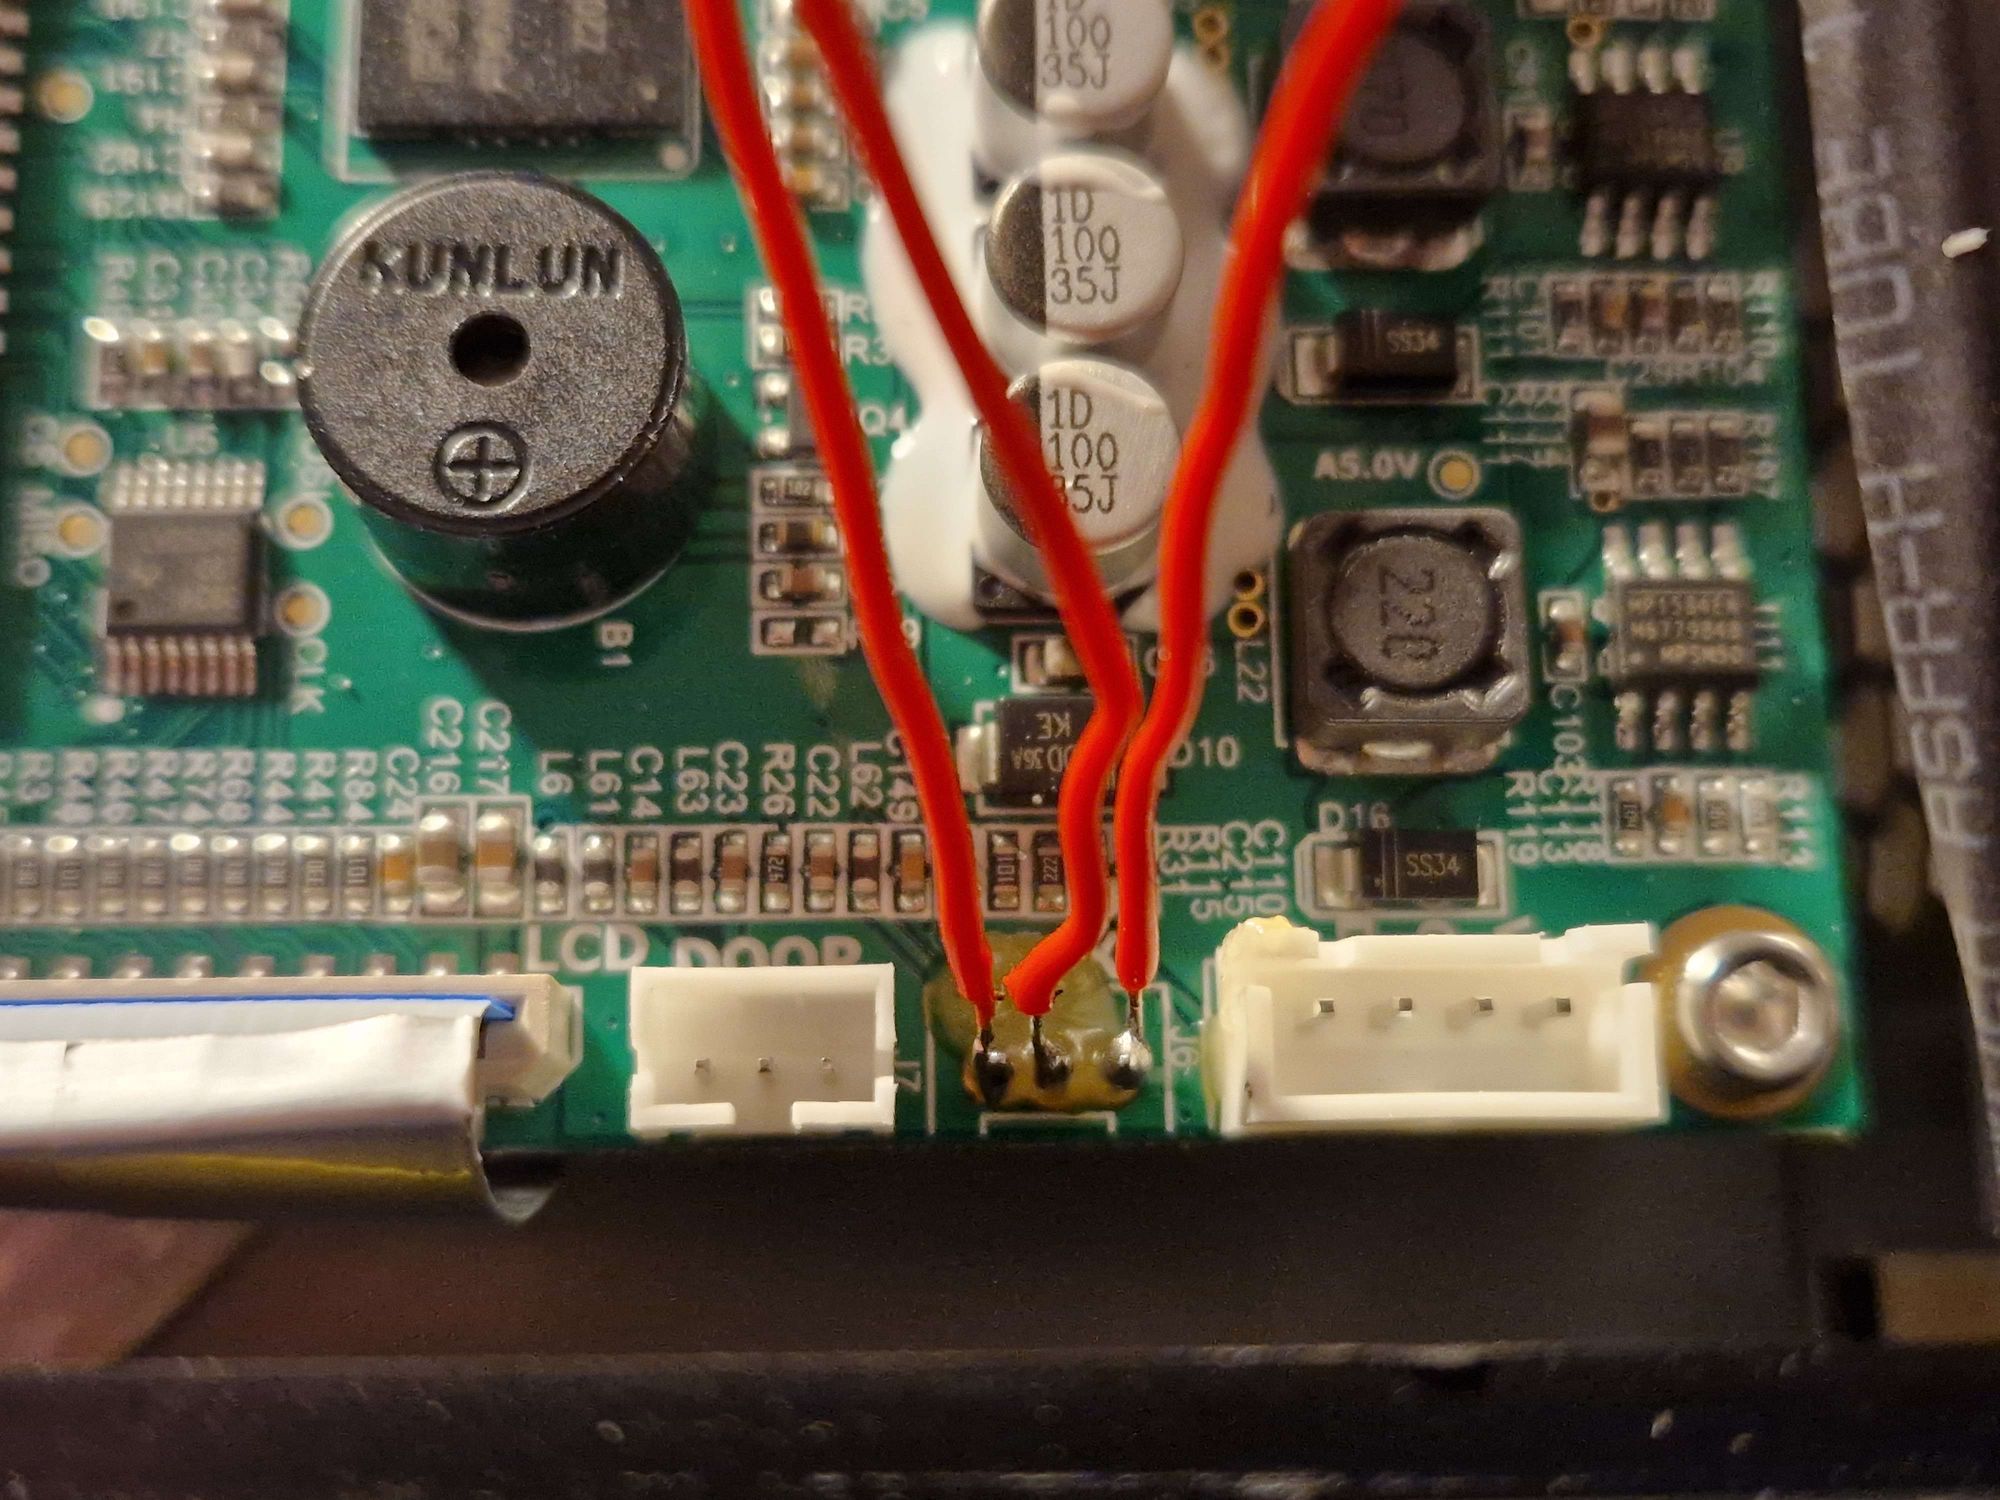
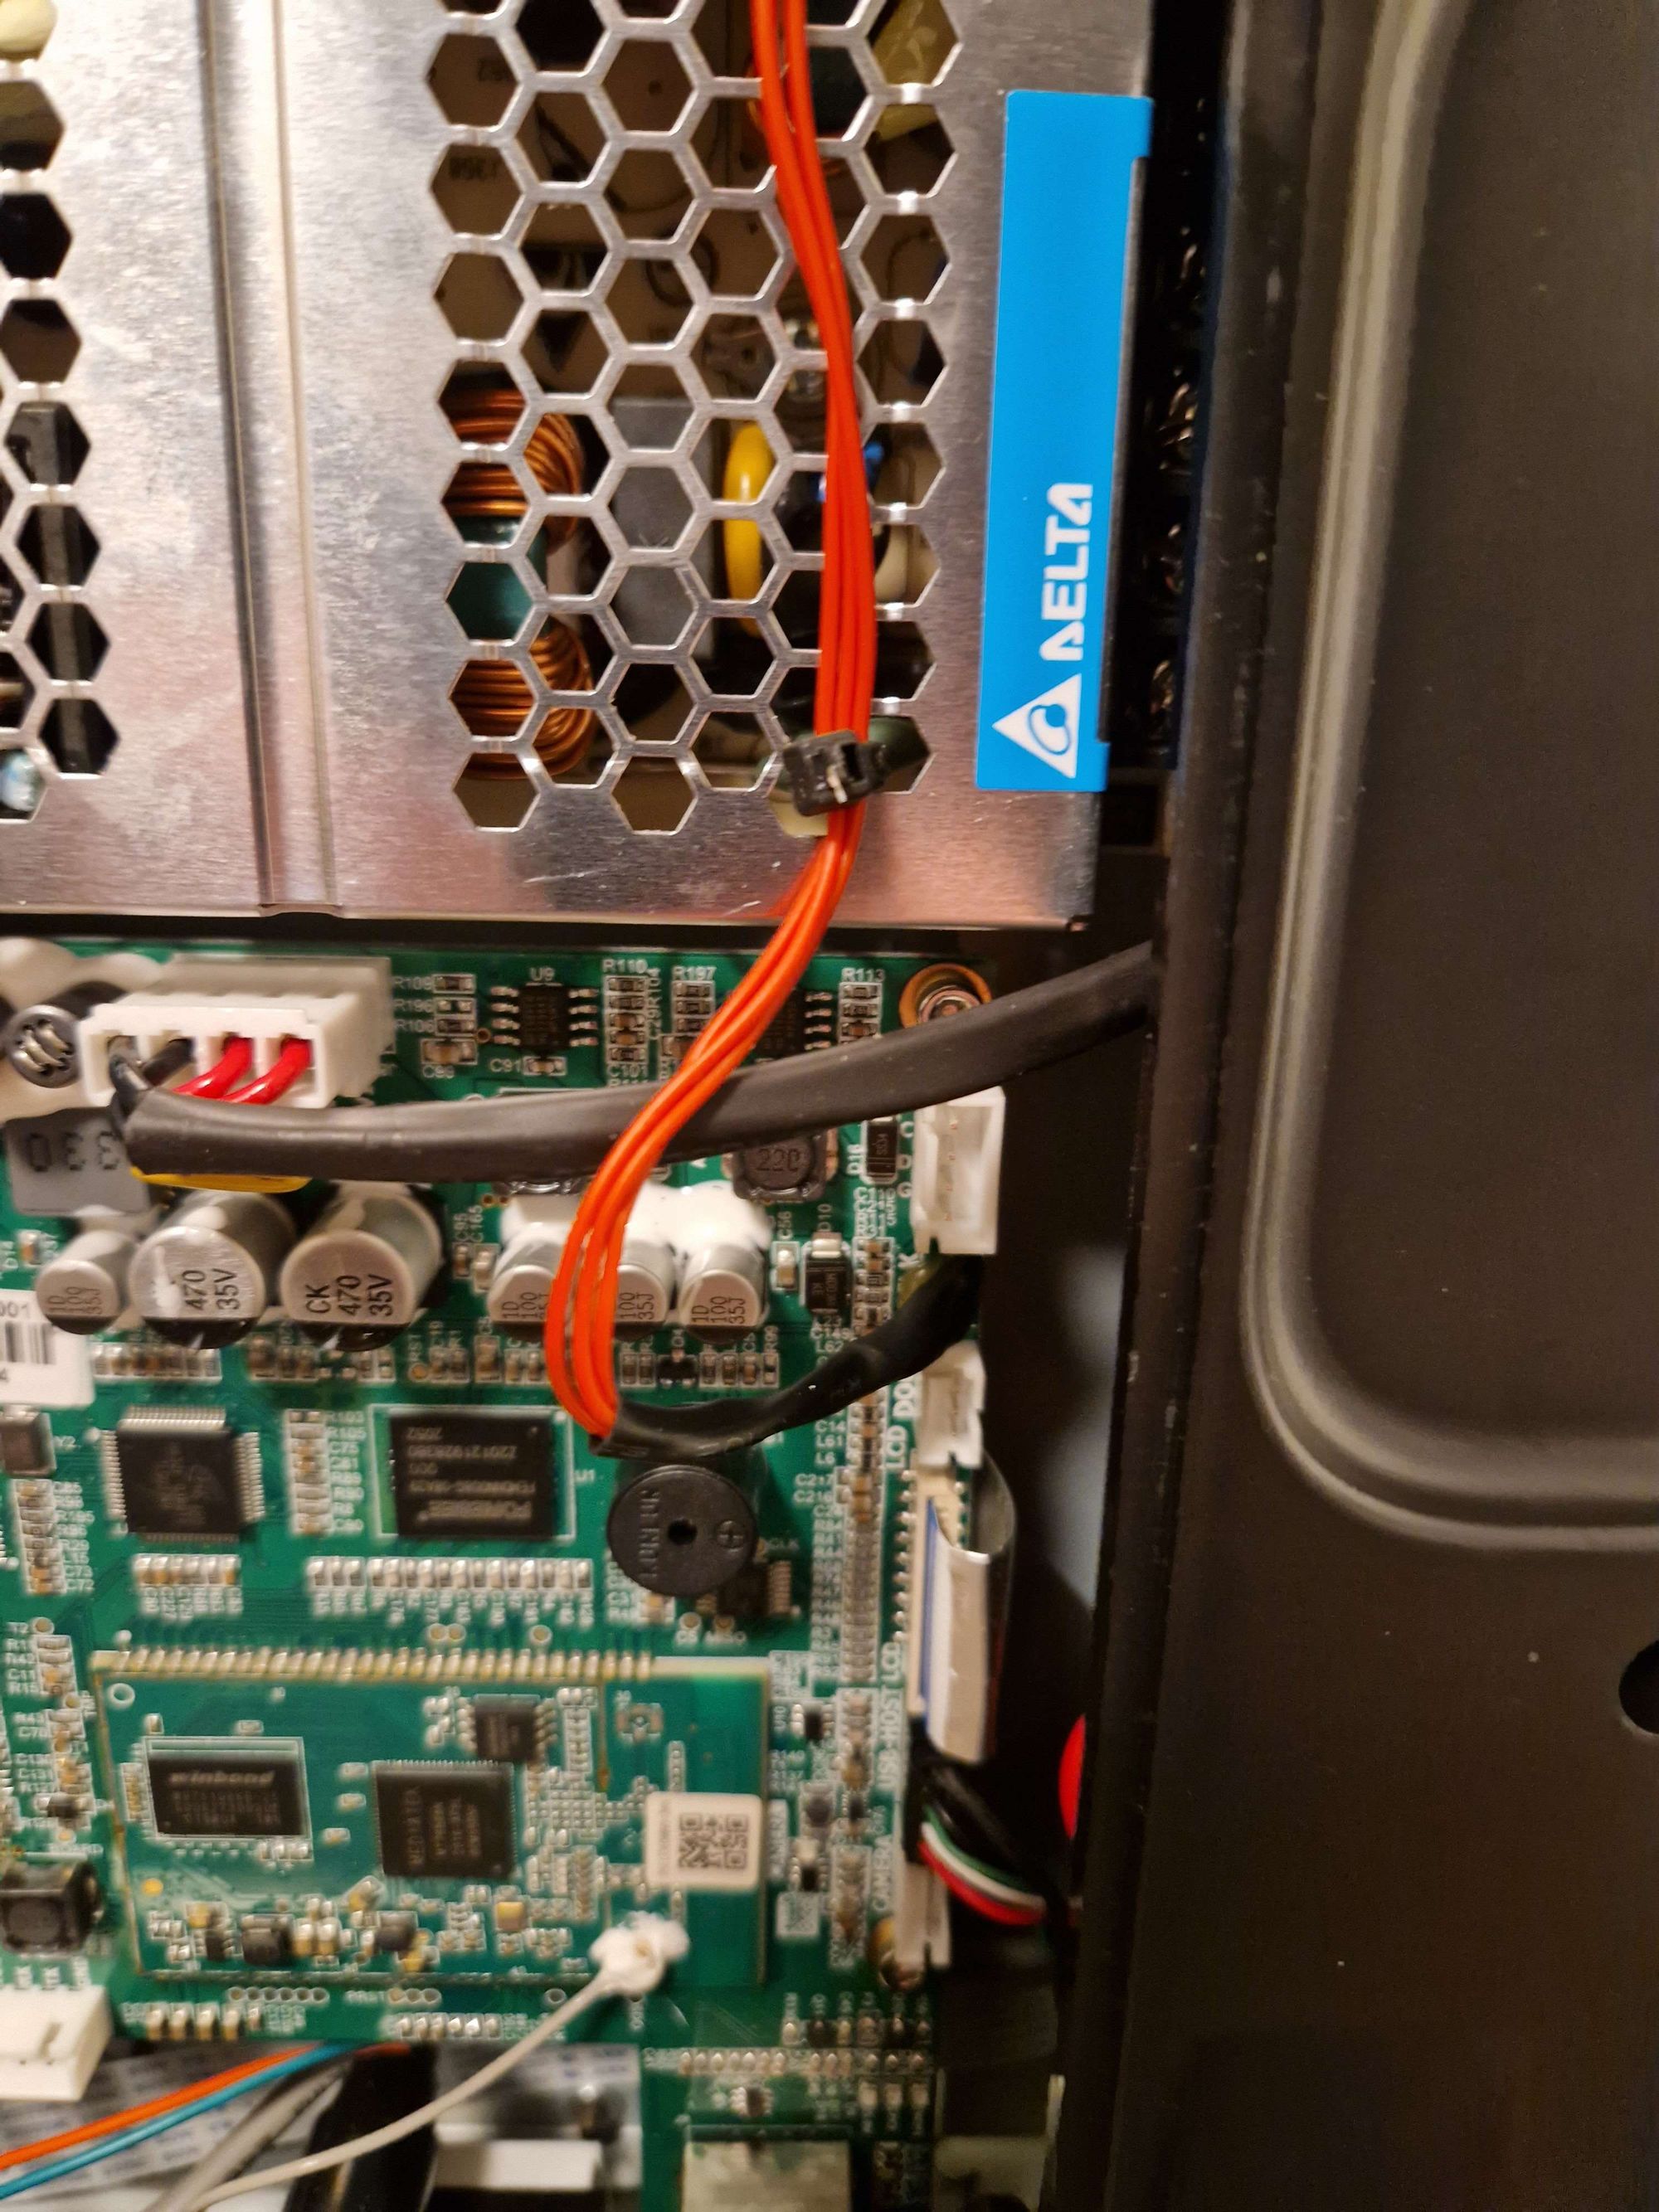
Insert the filament sensor, then solder three wires to it. The left wire is for GND. Put the wires through the housing and unscrew the bottom to get a view of the mainboard. Find the “SILK” marking on the mainboard and solder the wires from the filament sensor from left to right, starting with GND. If you are unsure which side is GND, use a multimeter to check which of the pins is connected with, for example, the power supply metal.
Put everything back together, and don’t forget to reconnect the extruder motor cable. This might be tricky. Use pliers if you can’t get your fingers in there.
Finally, test your new filament sensor by starting the filament loading routine. You should notice that the printer will now detect when the filament runs low or has run out and will stop printing until you replace the spool. Congratulations! You have successfully upgraded your FlashForge Adventurer 3 Lite with a filament sensor.
In conclusion, adding a filament sensor to your 3D printer can save you time, money, and frustration. With some firmware and hardware modifications, you can upgrade your FlashForge Adventurer 3 Lite to include this valuable feature. However, always proceed cautiously and remember that modifying your 3D printer can void your warranty.
Links:
https://www.flashforge.com/download-center
https://flashforge-usa.com/products/adventurer-3-tracheal-joint?variant=39313399939119