
Get started with the reMarkable toolchain:
This toolchain is actually from the official reMarkable team. We just need to download and execute it as follows:
1
2
wget https://remarkable.engineering/deploy/sdk/sumo_qt5.12_toolchain.sh
sudo chmod +x sumo_qt5.12_toolchain.sh && ./sumo_qt5.12_toolchain.sh
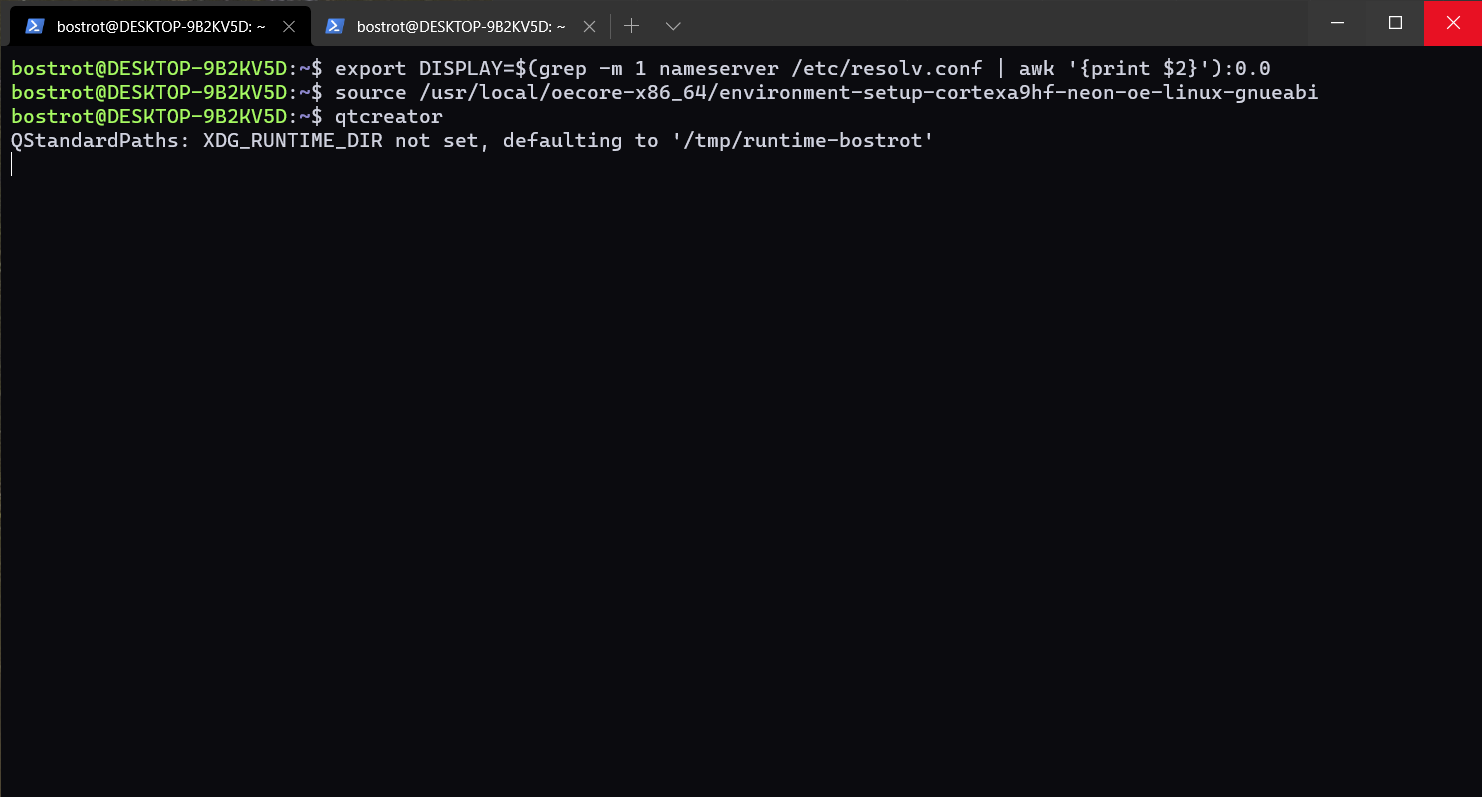
In order to access the toolchain, we now need to source the folder every time we actually want to use it. (you could make it permanent too though) Depending on which path you chose earlier this might look a bit different:
1
source /usr/local/oecore-x86_64/environment-setup-cortexa9hf-neon-oe-linux-gnueabi
Install QT Creator (GUI) on WSL2
First a few dependencies:
sudo apt-get install -y --no-install-recommends libegl1-mesa libfontconfig libglu1-mesa libsm6 libxi6 libxrender1 mesa-common-dev
# these are optional if you want to remove qt lib warnings:
sudo apt install -y nvidia-340 mesa-utils && glxgearsThen qtcreator:
1
sudo apt install qtcreator
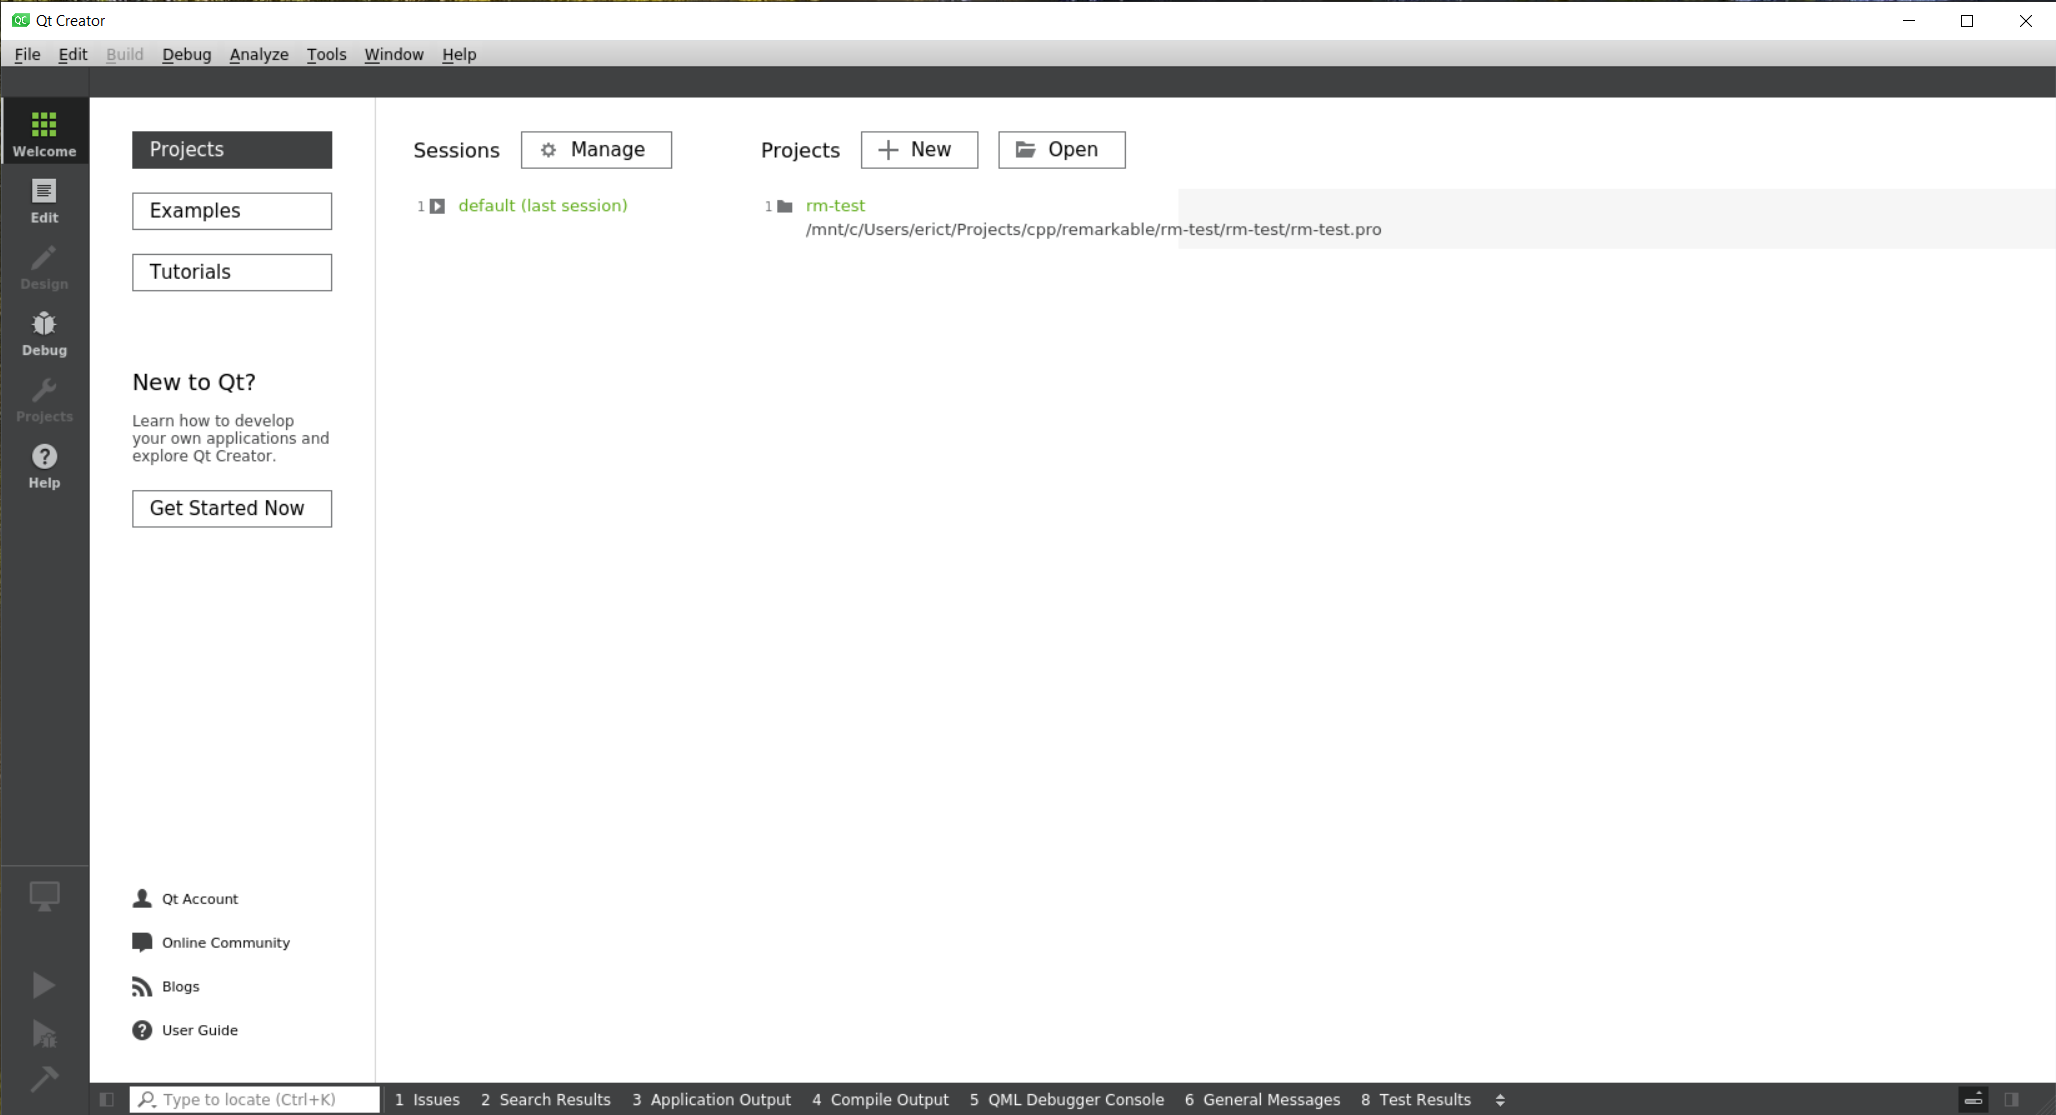
| Now we could try to start it but it will only show errors as there is currently no display connected. In order to get a display working, we can install an xserver variant on windows. I used VcXsrv as it includes creating firewall entries automatically. You can find the source [here](/p/d8013e24-f288-4384-8c2e-7386aeaa9a0f/VcXsrv%20Windows%20X%20Server%20download%20 | %20SourceForge.net). After installing, start it with XLaunch, accept the firewall entries (if prompted) and go through the setup: display number: 0, Start no client and select Disable access control. Now you should be good to go back to the WSL console and start qtcreator on your windows host with qtcreator: |
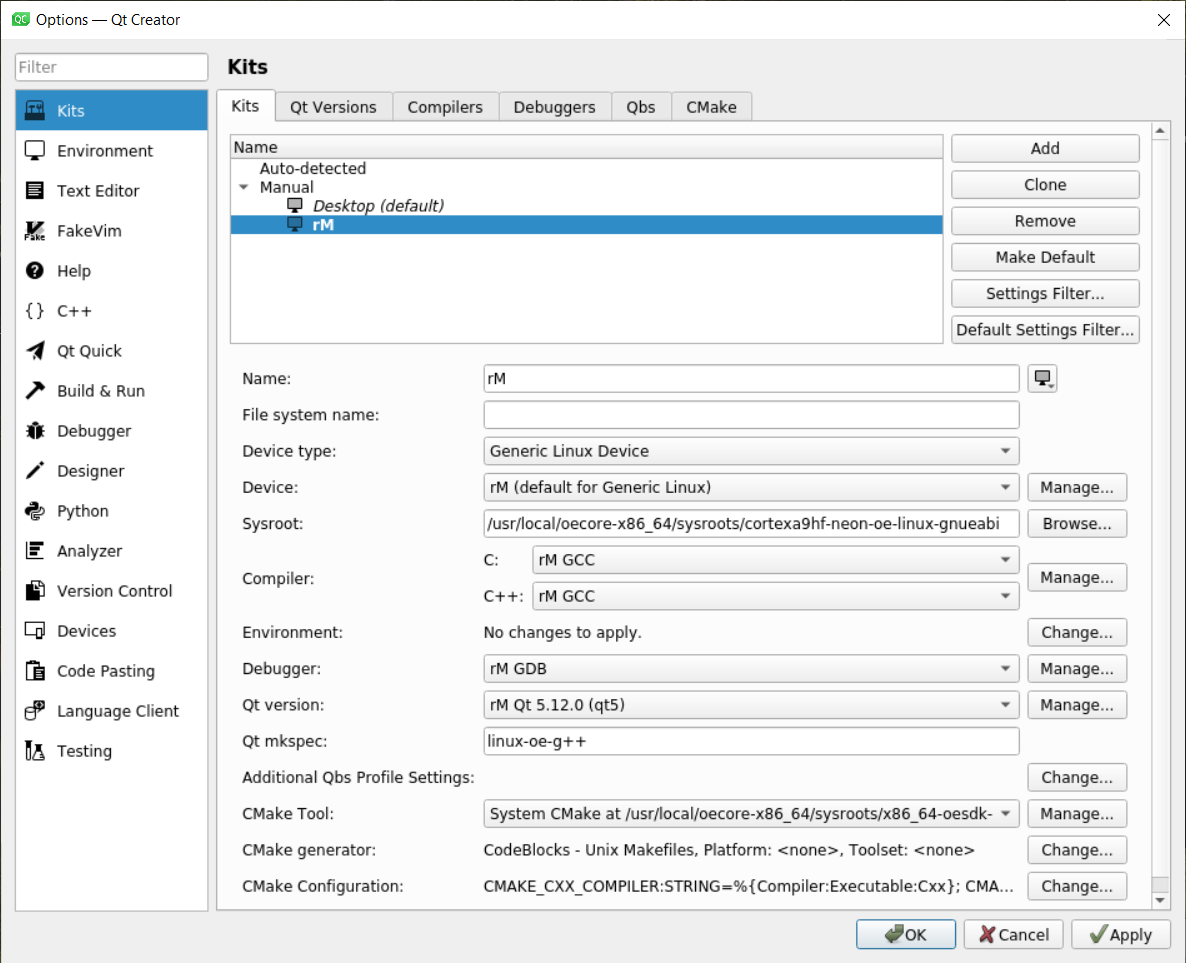
Now the Qt creator compiler settings ( Tools -> Options -> Kits):
- Qt Versions
Name:rM Qt %{Qt:Version} (qt5)
Path:/usr/local/oecore-x86_64/sysroots/x86_64-oesdk-linux/usr/bin/qt5/qmake - Compilers: (with both
Add -> GCC -> CandAdd -> GCC -> C++)
Name:rM GCC
Path:/usr/local/oecore-x86_64/sysroots/x86_64-oesdk-linux/usr/bin/arm-oe-linux-gnueabi/arm-oe-linux-gnueabi-gcc - Debuggers: (with
Add)
Name:rM GDB
Path:/usr/local/oecore-x86_64/sysroots/x86_64-oesdk-linux/usr/bin/arm-oe-linux-gnueabi/arm-oe-linux-gnueabi-gdb - Kits:
![qt-wsl-settings-1]()
Now add your device directly:
Devices -> Add -> Generic Linux Device
- IP address: either the IP your device has in WiFi or
10.11.99.1when connected via USB. - Username: root
In case you do not have a private key file yet, go to WSL, type ssh-keygen select your home dir as location and maybe a custom name e.g. remarkable. Now copy the key to your device with ssh-copy-id -i remarkable root@[device-ip].
Add your private key file (~/remarkable) and finish. There might be an error that rsync can not be found but as long as the test, in general, completes everything is fine. (we don’t need rsync for that) Now go back to Kits and select the device you just created on the Device.
Now when you type some code you may get some errors about variable has incomplete type: This is because it actually uses clang for this. Disable that by going to Help -> About Plugins -> ClangCodeModel and removing the check. Then restart qtcreator.
Uncheck Enable QML in Projects -> Build & Run -> rM -> Run -> Debugger Settings.
Now you can get started :)
Sources
https://remarkablewiki.com/tech/ssh
https://remarkablewiki.com/devel/qt_creator
https://remarkable.engineering/deploy/sdk/